
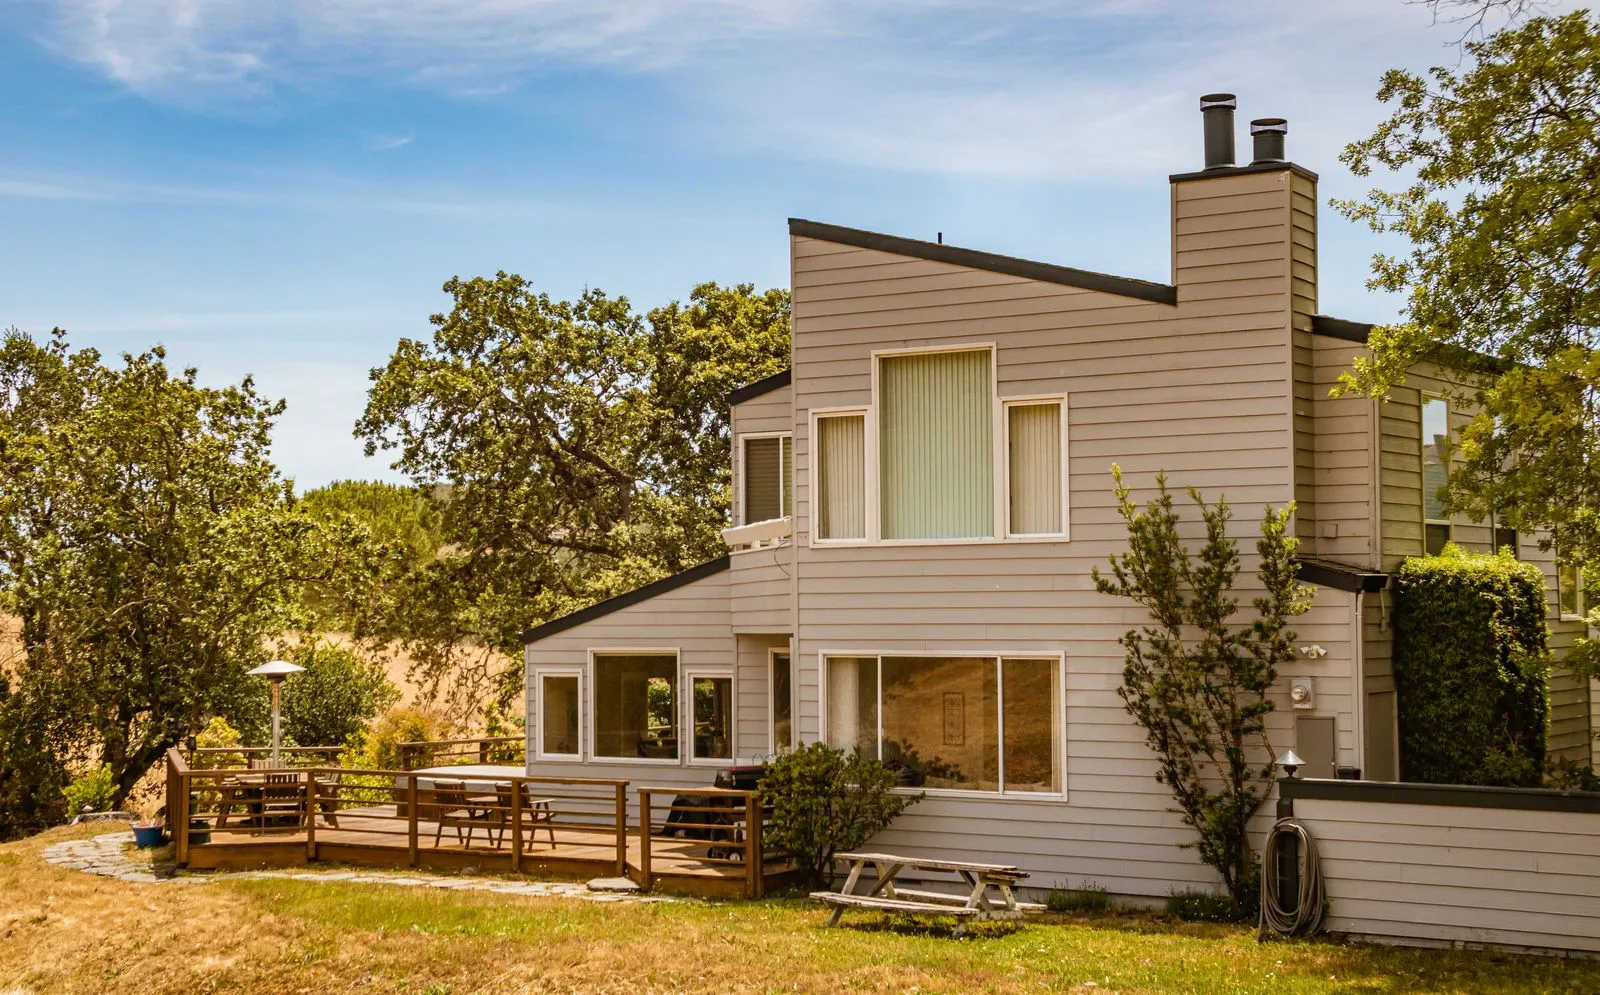
The best time to photograph a home depends on what you want each image to show. Morning light can feel soft and calm, midday light can brighten shaded rooms, and late-day light can add warmth outdoors. A home’s orientation matters just as much: the direction a room or facade faces affects when sunlight reaches it and how strong that light appears. A little planning helps create balanced photos without harsh glare or unexpectedly dark corners.
How Light Changes Through the Day
Morning light is often gentle, especially before direct sun reaches the windows. It can suit bedrooms, breakfast areas, and spaces with east-facing windows. The softer contrast helps preserve detail in both the room and the view outside. Check the actual light in advance, though: nearby buildings, trees, and window coverings can change what a room receives.
Around midday, sunlight is generally stronger and more direct. This can help brighten north-facing rooms or shaded areas, but sunbeams may create sharp patches on floors and walls. Bright windows can also appear much lighter than the interior. Photographing during overcast conditions can make midday light more even, while adjusting curtains or blinds can reduce glare.
Plan Around Room Orientation
East-facing rooms tend to receive direct light earlier in the day, while west-facing rooms often brighten later. South-facing spaces may receive stronger sunlight for more of the day, depending on the season and obstructions. North-facing rooms usually get steadier, indirect light. Use these patterns as a starting point, then walk through the home at the planned time to see how the light actually falls.
Match the schedule to the features you want to highlight. If a living room has a wide eastern window, a morning session may show its natural brightness without intense glare. For a west-facing dining room, later light may add warmth. Photograph rooms with changing sunlight at different times if the schedule allows, and avoid assuming every room will look best during one single window.
Choose the Right Time Outdoors
The home’s exterior orientation affects when its front facade receives direct sun. A facade facing east may be lit earlier, while a west-facing facade may look brighter later in the day. Direct sun can bring out color and architectural detail, but it can also create deep shadows or washed-out areas. A shaded facade may photograph more evenly when the surrounding light is bright but indirect.
For patios, gardens, and pools, consider both the direction of sunlight and the feature’s intended mood. Morning can make a garden feel fresh; late-day light can add warmth to a terrace. If strong sun falls across the scene, shift the timing or frame the image to avoid distracting highlights. Check where shadows land on the home, landscaping, and outdoor furniture before setting the schedule.
Build a Practical Shoot Schedule
List the priority rooms and exterior views, then note which direction each window or facade faces. Visit the property at different times when possible, or use a compass and observe direct sunlight on the day of the shoot. Weather, season, window size, and nearby structures all affect the result, so treat general sunrise and sunset rules as guidance rather than guarantees.
Group images by the light each area needs instead of following the floor plan room by room. Start with spaces that have a short window of appealing natural light, then move to rooms with steadier illumination. Keep curtains and blinds consistent, turn off mixed-color lamps when natural light is the goal, and allow time to adjust the order if clouds or direct sun change conditions.
A thoughtful schedule uses the home’s orientation, the changing daylight, and the look each space needs. Walk the property in advance, prioritize rooms with brief lighting windows, and stay flexible when weather shifts. For a tailored plan for your property, contact Luma House Photography to discuss the rooms and exterior views you want to feature.